Redneck sous vide beef
Sous vide (cooking at low temperature for an extended period) has been around for a while and was originally the realm of top end chefs with expensive kit. Lately things like the Anova Stick has made it much easier and more accessable, but I’ m still a man who likes to experiment, so… I went redneck. An instant read thermometer, a pan, and getting lucky with the surface area of my pan and specific heat capacity meant I could make a good stab at sous-vide beef without (yet) splashing out a fortune.
You will need
- A food safe at heat plastic bag (I used a roasting bag)
- A chunk of topside beef (mine was about a kilo)
- A clove of garlic
- An instant read thermometer
- A deep pan
Do
- Wash and dry the beef
- pop it in the the roasting bag
- Fine slice the garlic and stickk it in the bag (move it all around)
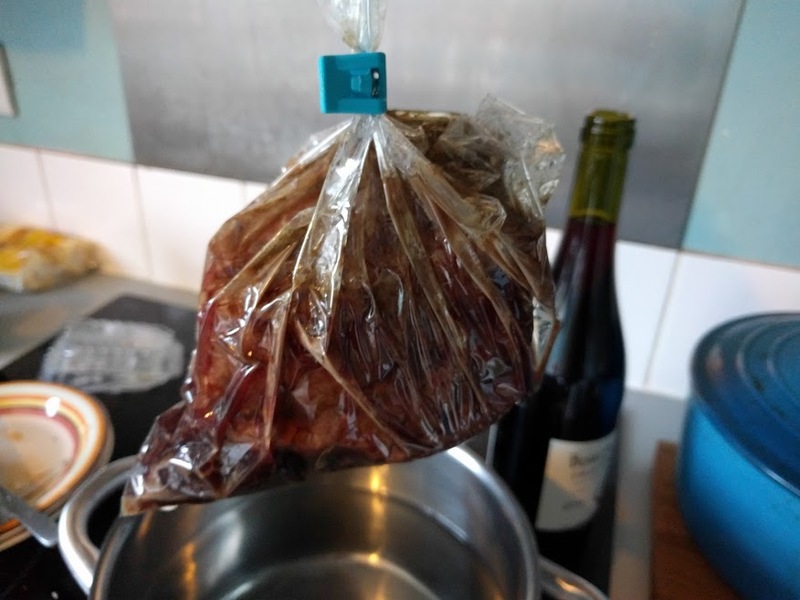
- Submerge the bag until all the air is out and clip shut
- Pop the bag in a pan full of cold water
- Put the stove on it’s lowest setting and find a way to have the thermometer proped up so you can read it
- Tweak the heat, lid and amount of the pan over the element to keep the beef as close to 60 degrees C as posible
- Wait six hours.
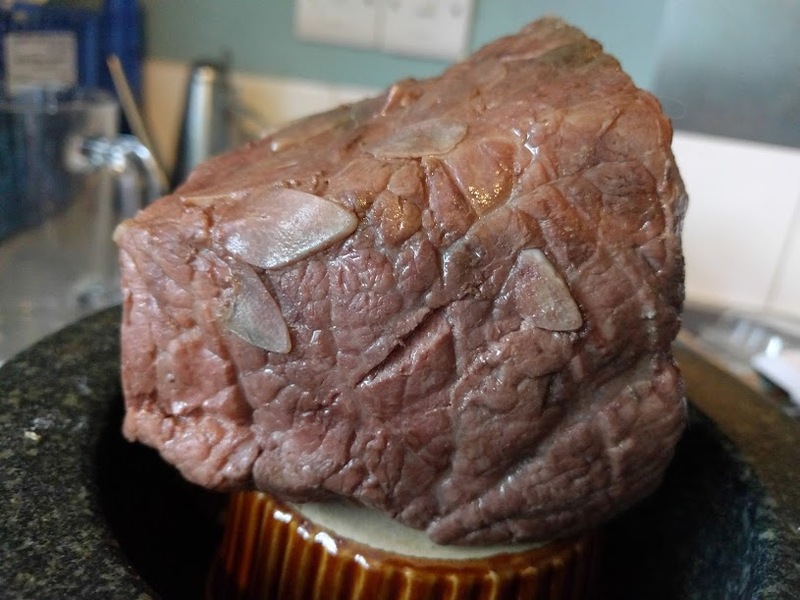
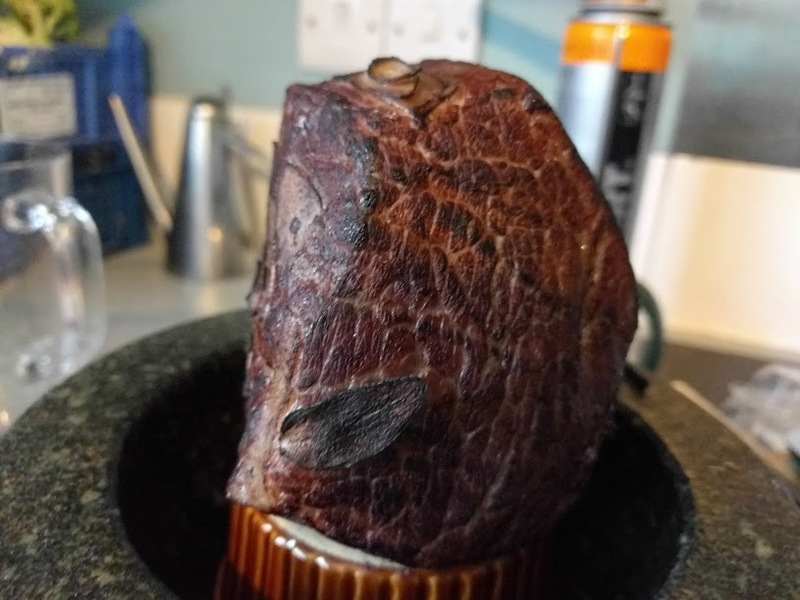
- Empty the bag and prop the beef up on something flake proof (I used a ramikin in a stone mortor)
- Let the beef rest for a few minutes (I chopped the broccilli and got it ready to go)
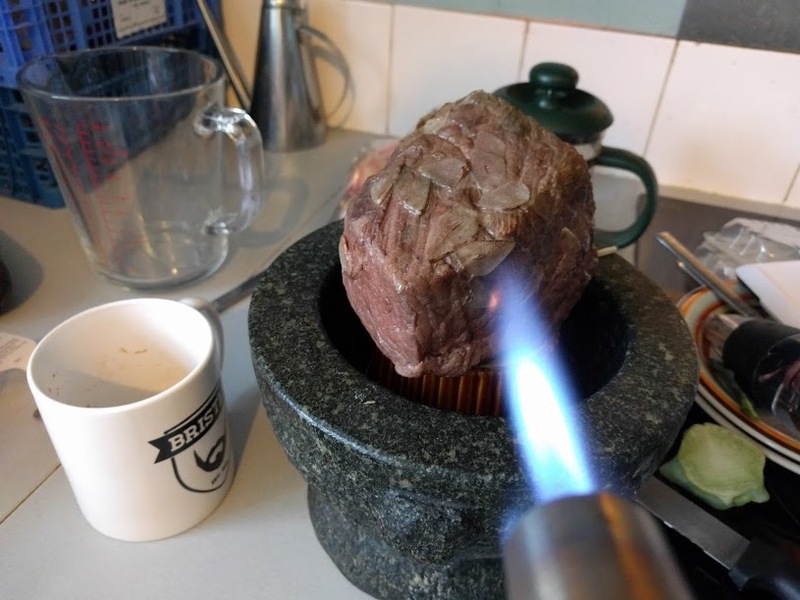
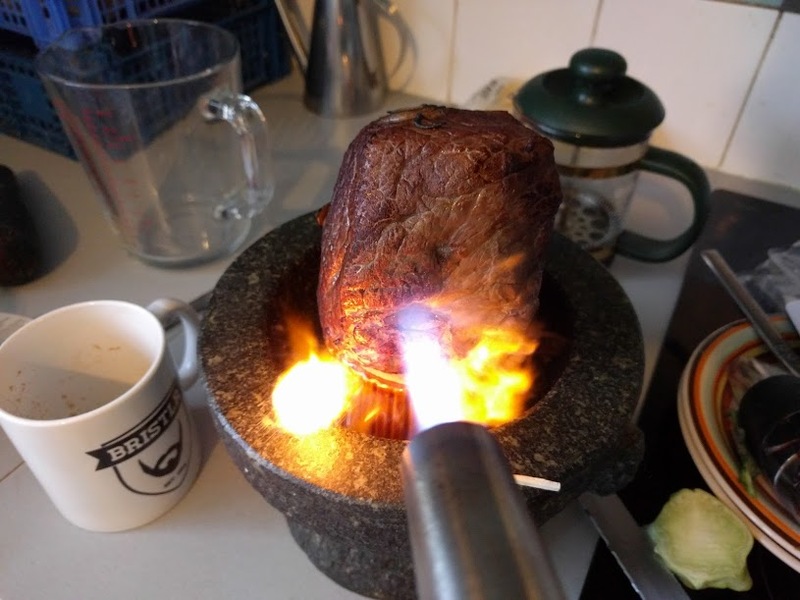
- Blowtorch the outside of the now dry beef until it’s well coloured
- Slice finely. Shove it in your face.
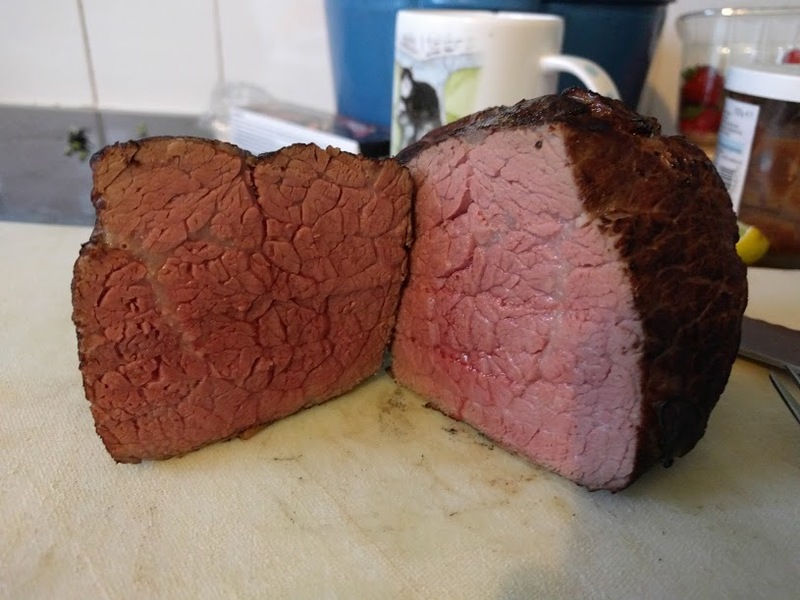
Result
Delicious tender beef, charred outsides, juicy as can be. The garlic adds a rounded edge to the flavour (best avoi any burnt bits of garlic). Please excuse the mess in my kitchen in the photos.